Gesamtzahl der Seitenaufrufe

Posts mit dem Label birthday card werden angezeigt. Alle Posts anzeigen

Samstag, 25. März 2023

Best Wishes!

Hello and welcome to my blog!

Today I want to share with you a quick and easy birthday card for a man. It´s my second project for the March challenge at Country View Challenges "Birthday card for a man". 


For the background of my card I used a elder paper pad from Tim Holtz. I simply distressed the edges with DI ground espresso, used one of my all time favourite stencil from TCW called Mini Harlequin. I spreat pentart Deluxe paste lagoon blue and truffles randomly through it. After the paste was dry, I made some white splatters with acrylic paint and glued the panel on top of a card.

The focal point is Sir Vagabond I fuzzy cut from the 8 x8 paper pad. I gave him a coat of glaze for more interest and glued him with 3D foam pads to the background. I also glued down two circles from the same paper pad.

I took a flower diecut from LaBlanche and put it in Sir Vagabonds hand, then I stamped the birthday wishes on leftover cardstock, cut it to size and went with black ink around the edges. Then I found a place on my card and used foam tape to glue them down too.

Here is Sir Vagabond:


There are some days left to make a male birthday card for the challenge, you know, you can win a 20 £ voucher for the shop!

Thank you for your visit today and have a happy weekend!

Mittwoch, 1. März 2023

Sending Birthday Wishes!

Hello and happy March!

I can´t believe it - it´s March already, where did February go?

For the March challenge over at Country View Challenges the lovely Corrie is the host and she wants to see birthday cards for a man.

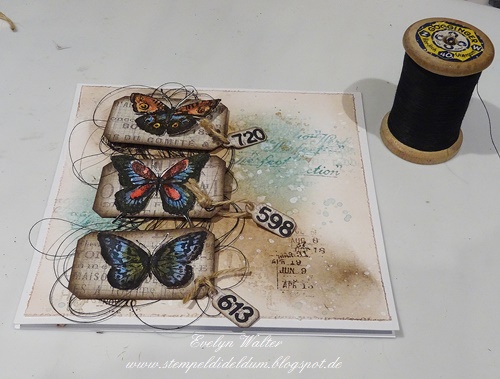
I made a little bit grungy card with a lot of new stamps and dies!


I started by colouring my background with Distress inks (walnut stain and salvage patina) with a brush, added some water drops and spritzed with a brush watered down walnut stain. Later I added some background stamping with my also new visible image stamps "Distressed Christmas" and "Background Vision" with the same Distress Inks.

I used my new purchased dies from Tim Holtz and cut out tiny tags and labels. I used some older papers from Tim Holtz.

For my focal point I used - well, also new - the butterflies from the stamp set "Watercolor CMS217" and coloured them with inktense colours and activated them with a waterbrush.

The labels were distressed with ground espresso DI and I added some eyelets. On top of the tiny tags I glued down some numbers I diecut and attached them to the labels with a string.

Underneath the labels I arranged some black thread, put some 3D tape down and glued the butterflies on top.

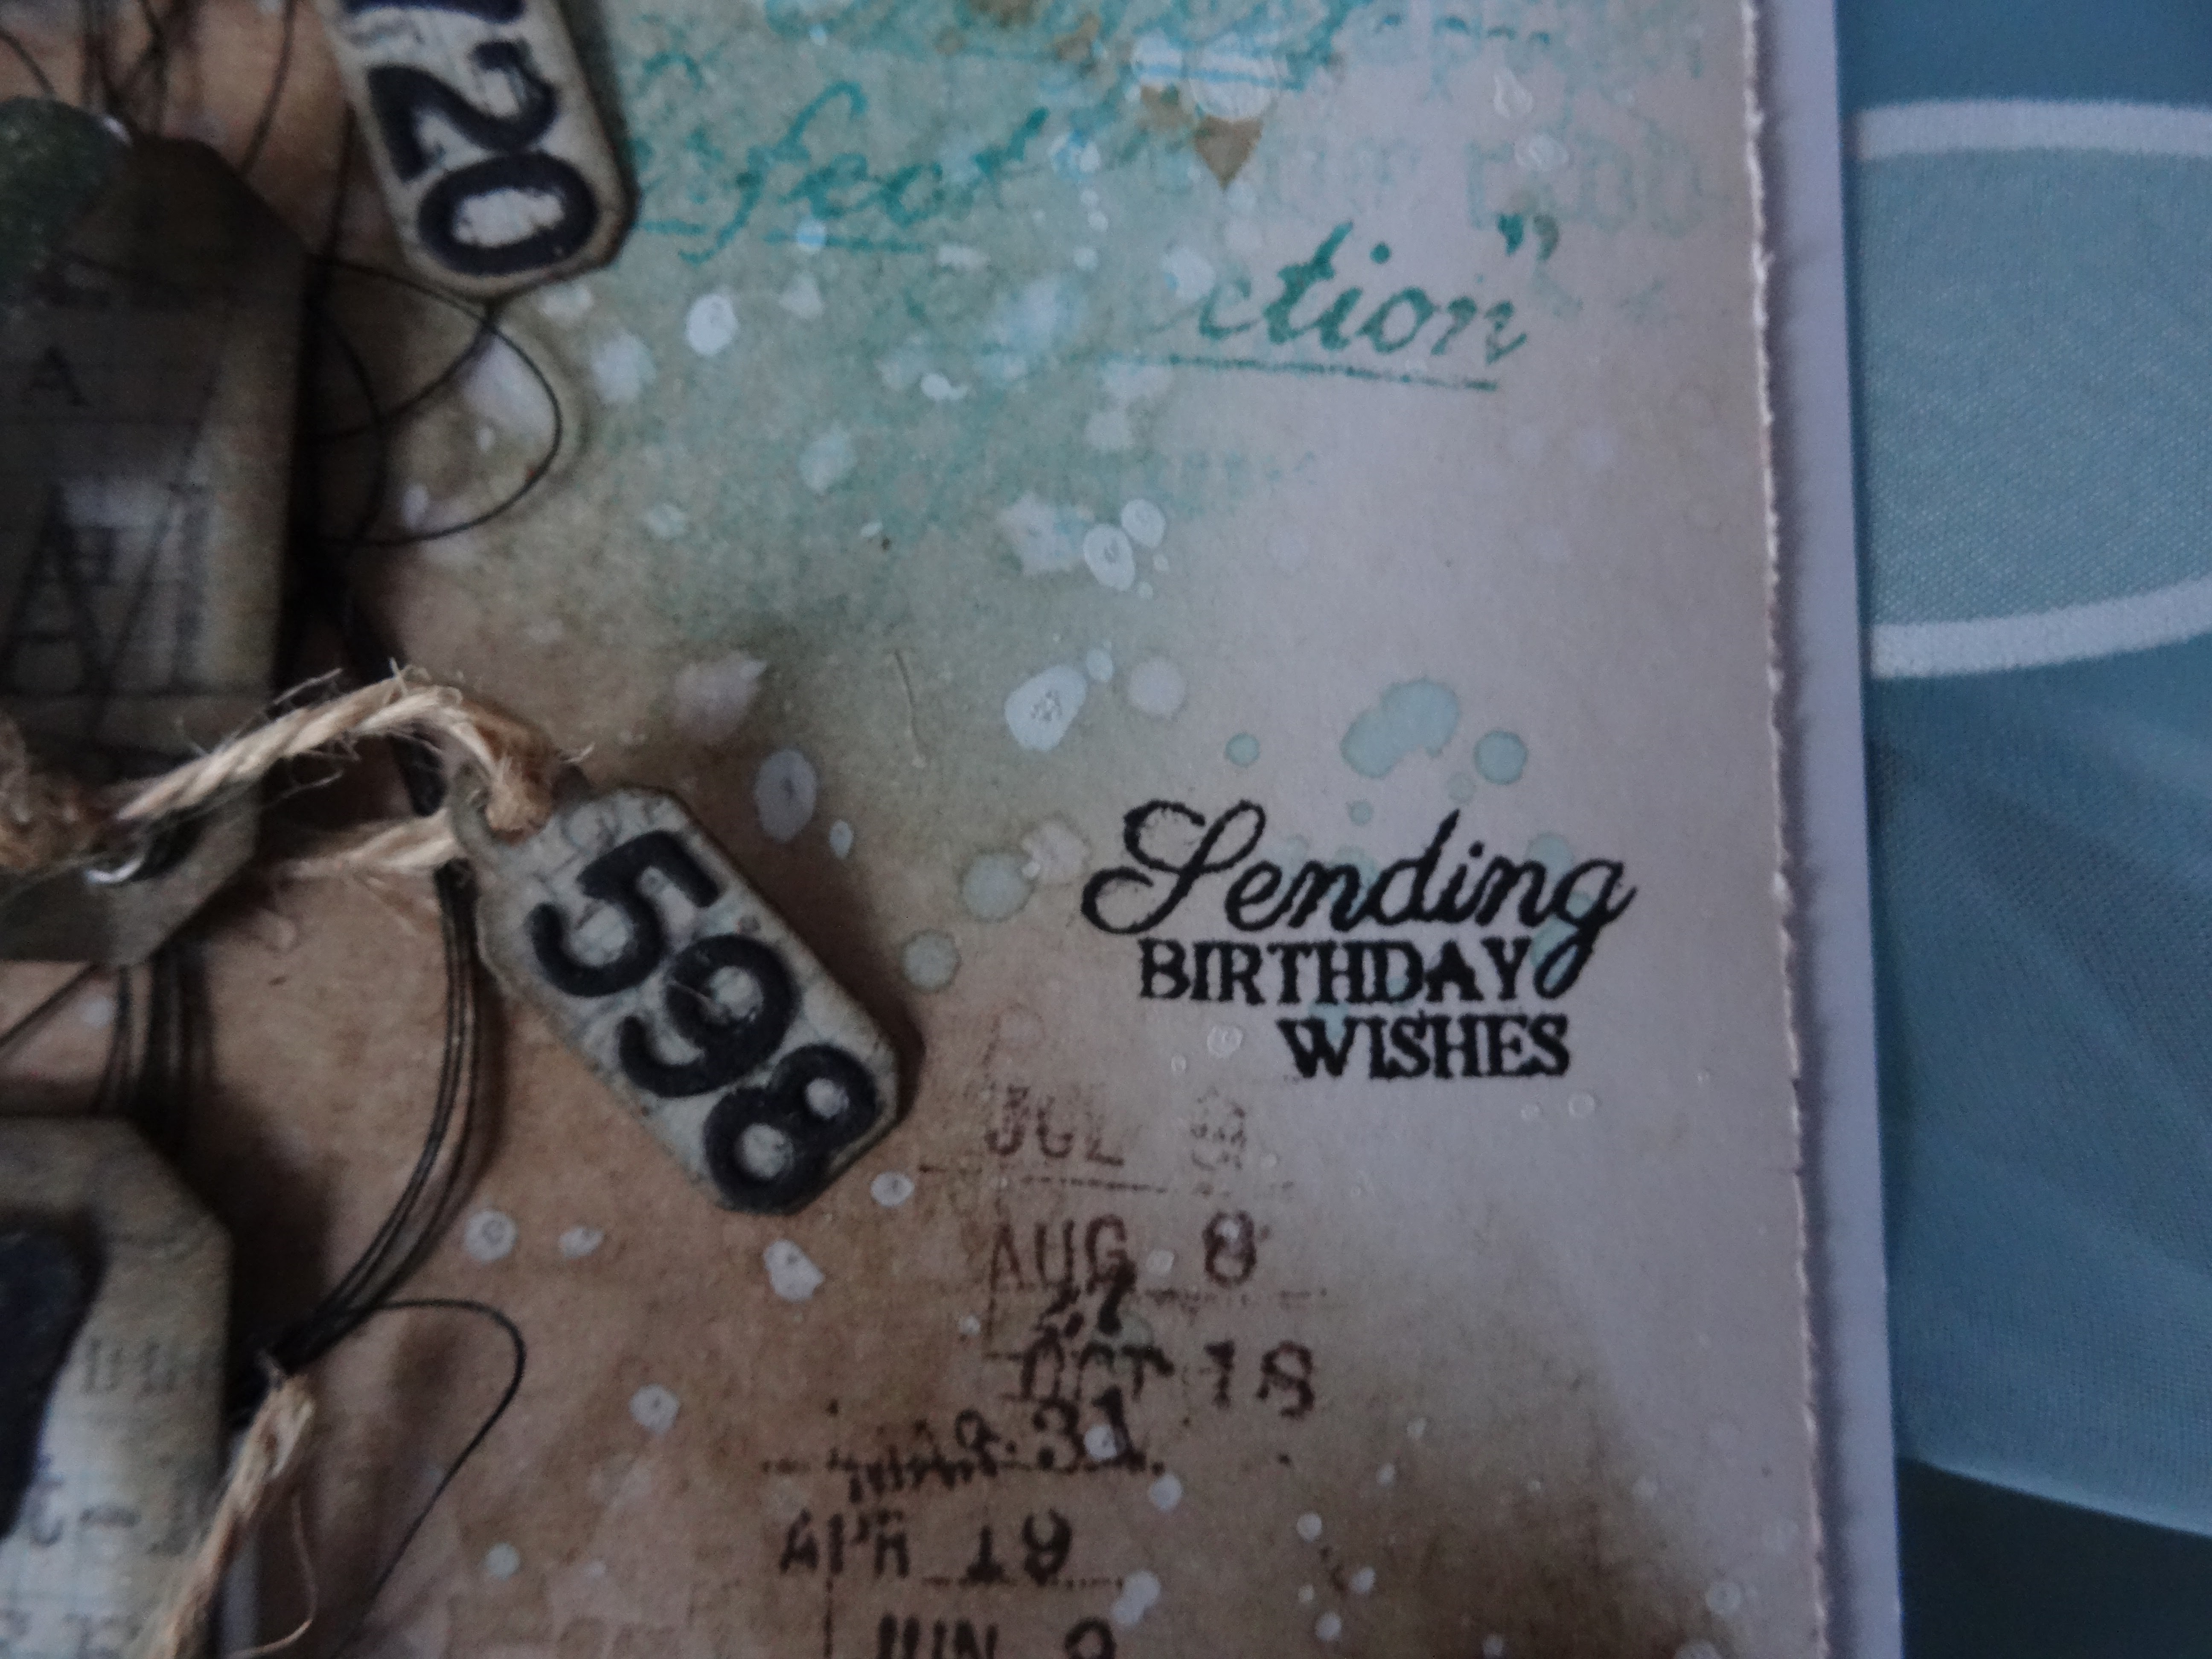
Finally I stamped the little sentiment with black Versafine Ink directly onto the card. I love this stamp, it is so small and pretty!


I attached the topper to a card - and that´s it!


Here are some close ups:


Now I hope you will find some time to make a card for our challenge, you can win a 20 £ voucher for the shop!

Thank you for your visit today and have a sunny March!

Mittwoch, 1. Februar 2023

Be Sentimental - Birthday Card

Hello and happy February!

This month there is a new theme over at Country View Challenges and it´s called "Be sentimental", hosted by the lovely Jane.

I made a rainbow-coloured birthday card, inspired by @fraupony.


This is what I did:

First I grabbed some of my (millions of...) leftover scraps and coloured them in rainbow order with Distress Inks. I also tried out Oxides, but I liked the more vibrant look of the Inks.

Next I took a flower die - I have it for a long time, don´t know, which brand it is - and diecut a bunch of flowers from all colours


Look, how beautiful they are!


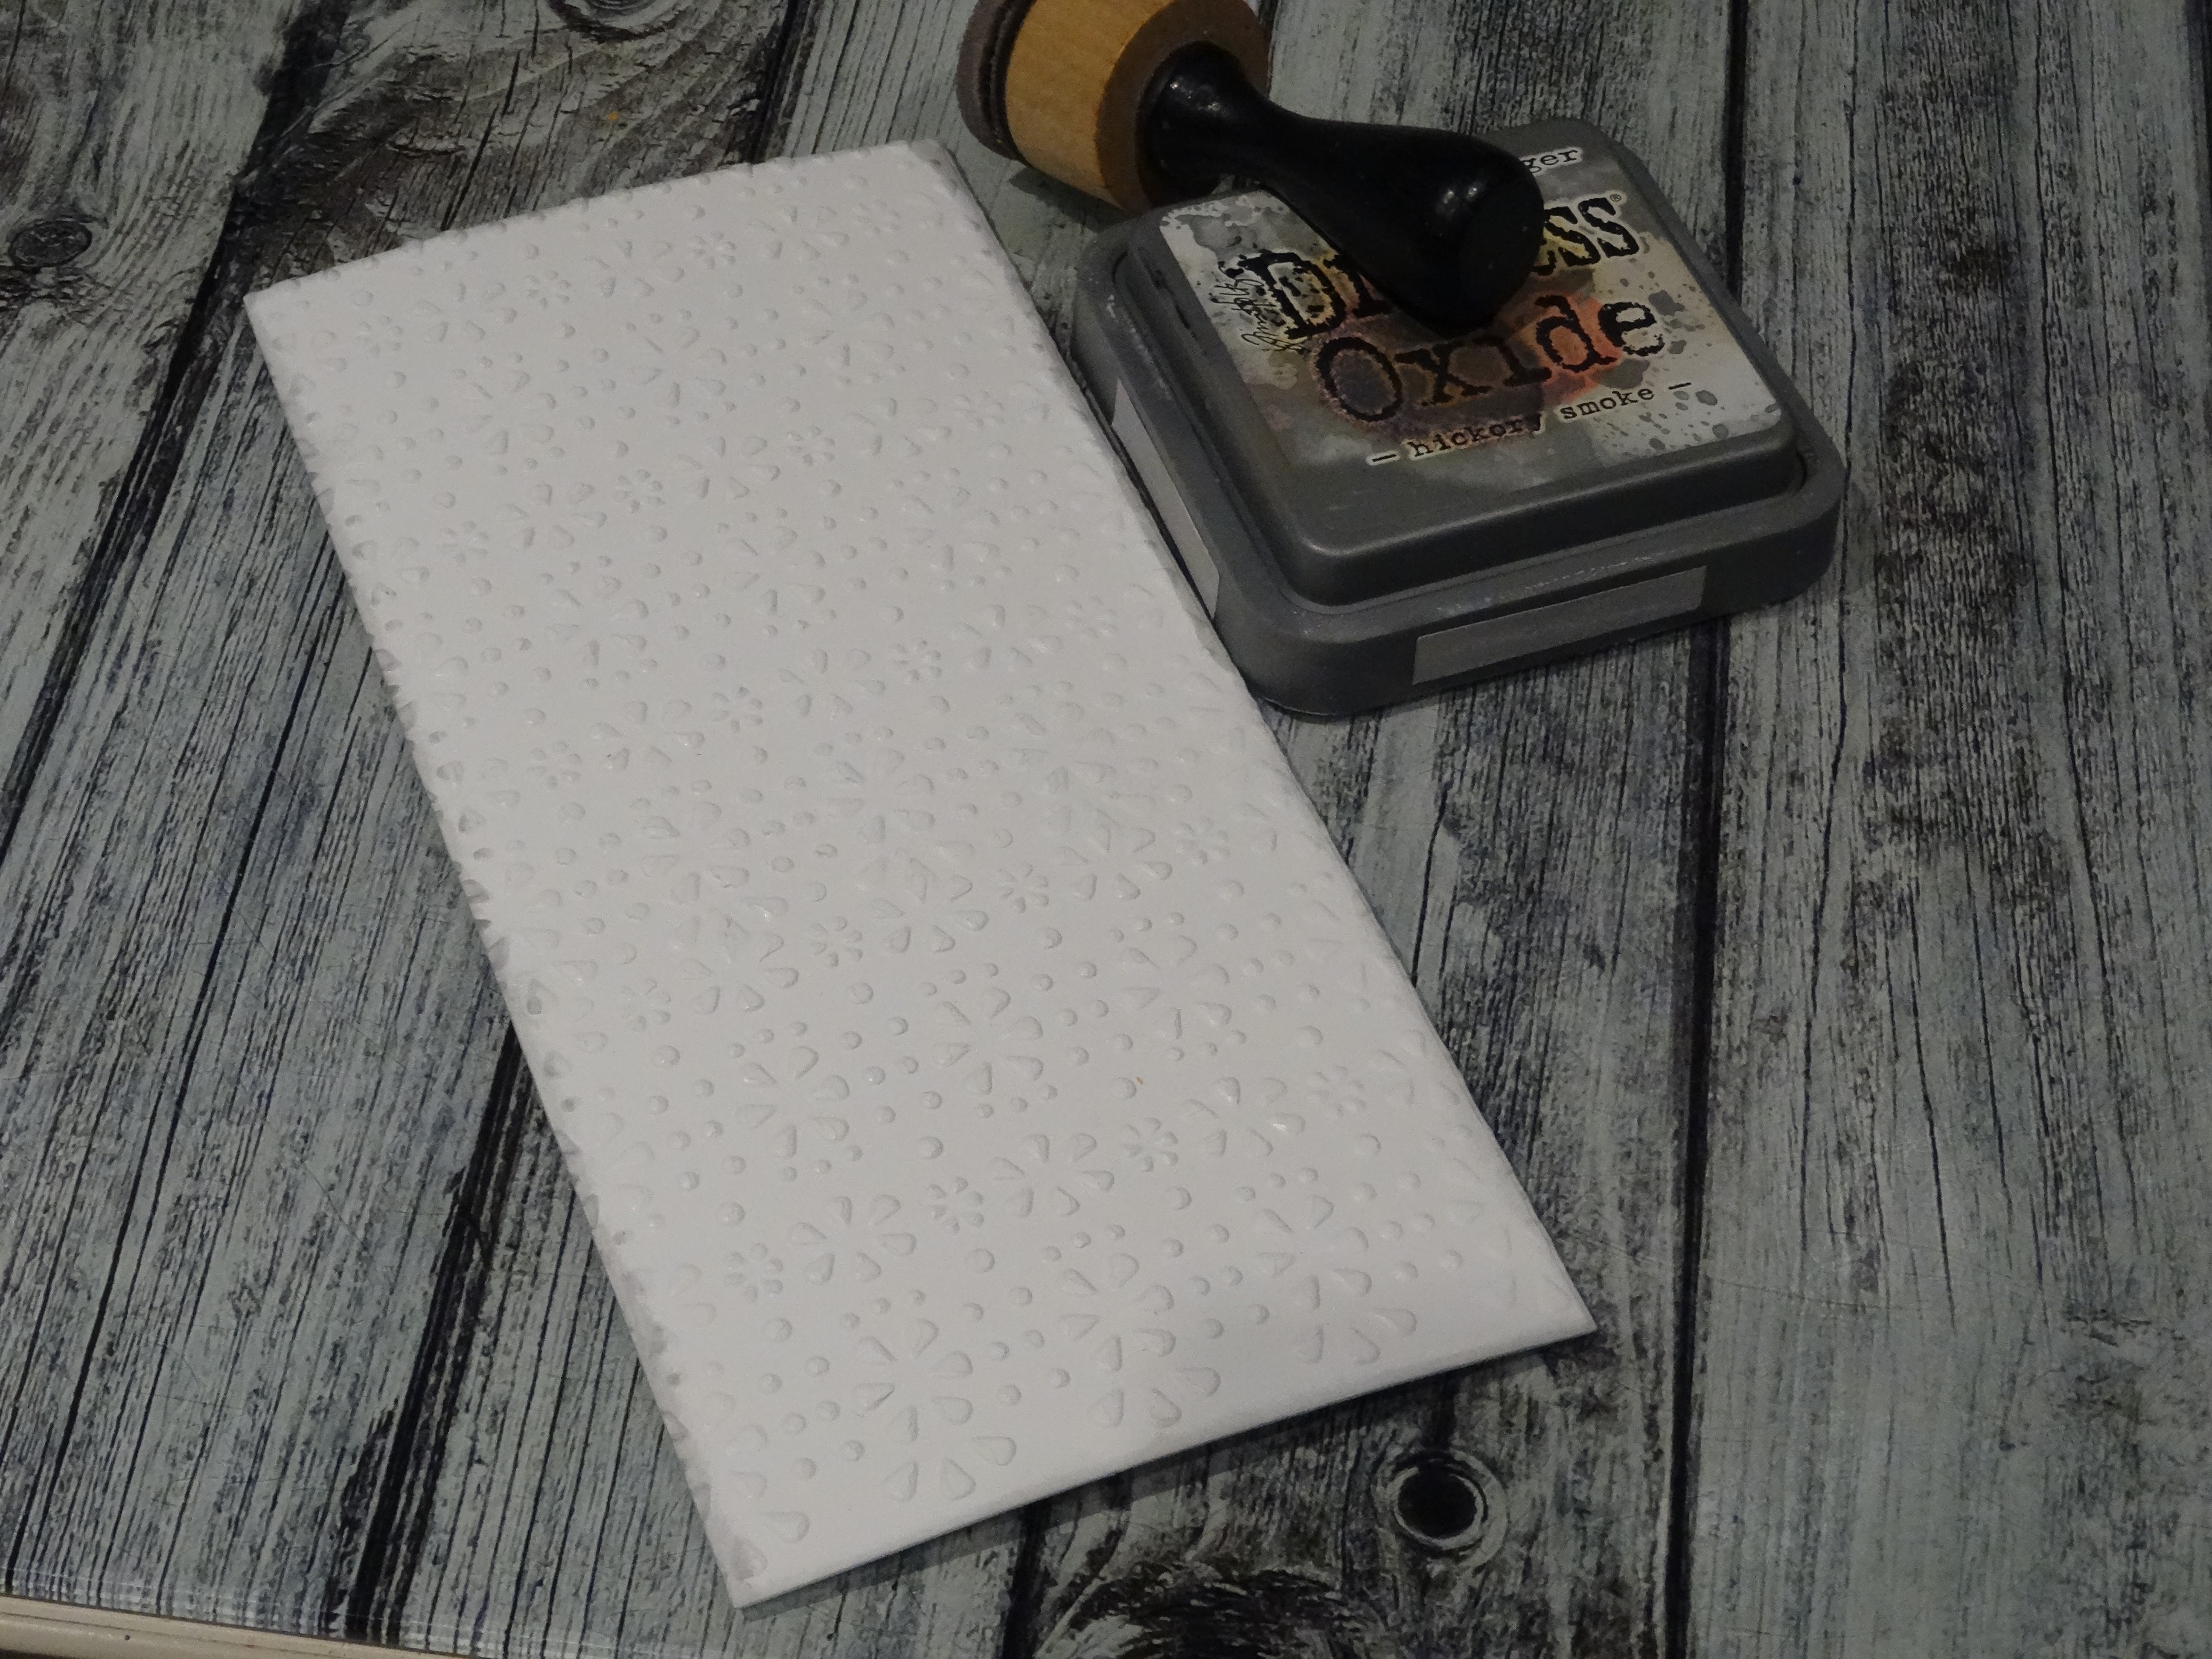
I cut a cardbase and a topper from white cardstock and embossed the topper with a folder from sizzix. It´s also very old, I don´t know if it is retired.


The edges I distressed with Distress Oxide hickory smoke.


I added some splatters in some of the colours I used to ink my papers for the flowers.


Now it was time to arrange the flowers on my card. I glued the topper to my card, using some foam tape, then I layered the flowers in a flow and glued them down.


I found some gemstones in rainbow colours and glued some of them on my card.


Last I added the sentiment "Happy Birthday" that I diecut with a cheap die from a Dollar store.


I had much fun making this card!

Now it´s your turn to get sentimental! Please read the rules before you enter the challenge.
As always you can win a 20£ voucher to spend in the shop!

I wish you a happy February and thank you for your visit!

Montag, 1. August 2022

Summer Birthday Card

 Hello my friends,

you probably may noticed, that I had a little brake. But now I´m back and happy to share my make for the August challenge "Happy Birthday" over at Country View Challenges.

I made a summer birthday card.


And this is, how I made it:
For the background I pushed DI salty ocean, evergreen bough and a tiny amount of picked raspberry directly on my glass mat, spritzed some water and dragged in my paper. I dried it with my heat tool and repeated the process until I was happy with the result. Then I did some stamping with a text stamp from PaperArtsy and with a small background stamp, also PaperArtsy.
For the sentiment I made a rainbow paper with DI mustard seed, spiced marmalade, barn door, picked raspberry, peacock feathers, evergreen bough and mowed lawn. Then I diecut Happy Birthday.
The flowers are dies from Alexandra Renke. I diecut them from Watercolour paper and vellum.
Then I glued everything down, added some crystals and details with a black Pitt artist pen and some colour to the center of the flowers with a crayon.
That´s it!
Here are some more pictures:


Now it´s your turn to make something for a Happy Birthday!

You know, you can win a 20 £ voucher for the shop!

Thank you for your visit today!