Gesamtzahl der Seitenaufrufe

Posts mit dem Label Distress Inks werden angezeigt. Alle Posts anzeigen

Mittwoch, 1. März 2023

Sending Birthday Wishes!

Hello and happy March!

I can´t believe it - it´s March already, where did February go?

For the March challenge over at Country View Challenges the lovely Corrie is the host and she wants to see birthday cards for a man.

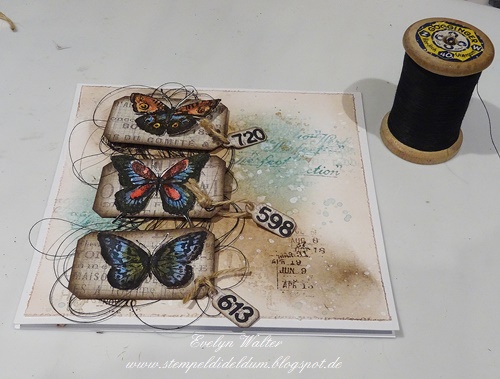
I made a little bit grungy card with a lot of new stamps and dies!


I started by colouring my background with Distress inks (walnut stain and salvage patina) with a brush, added some water drops and spritzed with a brush watered down walnut stain. Later I added some background stamping with my also new visible image stamps "Distressed Christmas" and "Background Vision" with the same Distress Inks.

I used my new purchased dies from Tim Holtz and cut out tiny tags and labels. I used some older papers from Tim Holtz.

For my focal point I used - well, also new - the butterflies from the stamp set "Watercolor CMS217" and coloured them with inktense colours and activated them with a waterbrush.

The labels were distressed with ground espresso DI and I added some eyelets. On top of the tiny tags I glued down some numbers I diecut and attached them to the labels with a string.

Underneath the labels I arranged some black thread, put some 3D tape down and glued the butterflies on top.
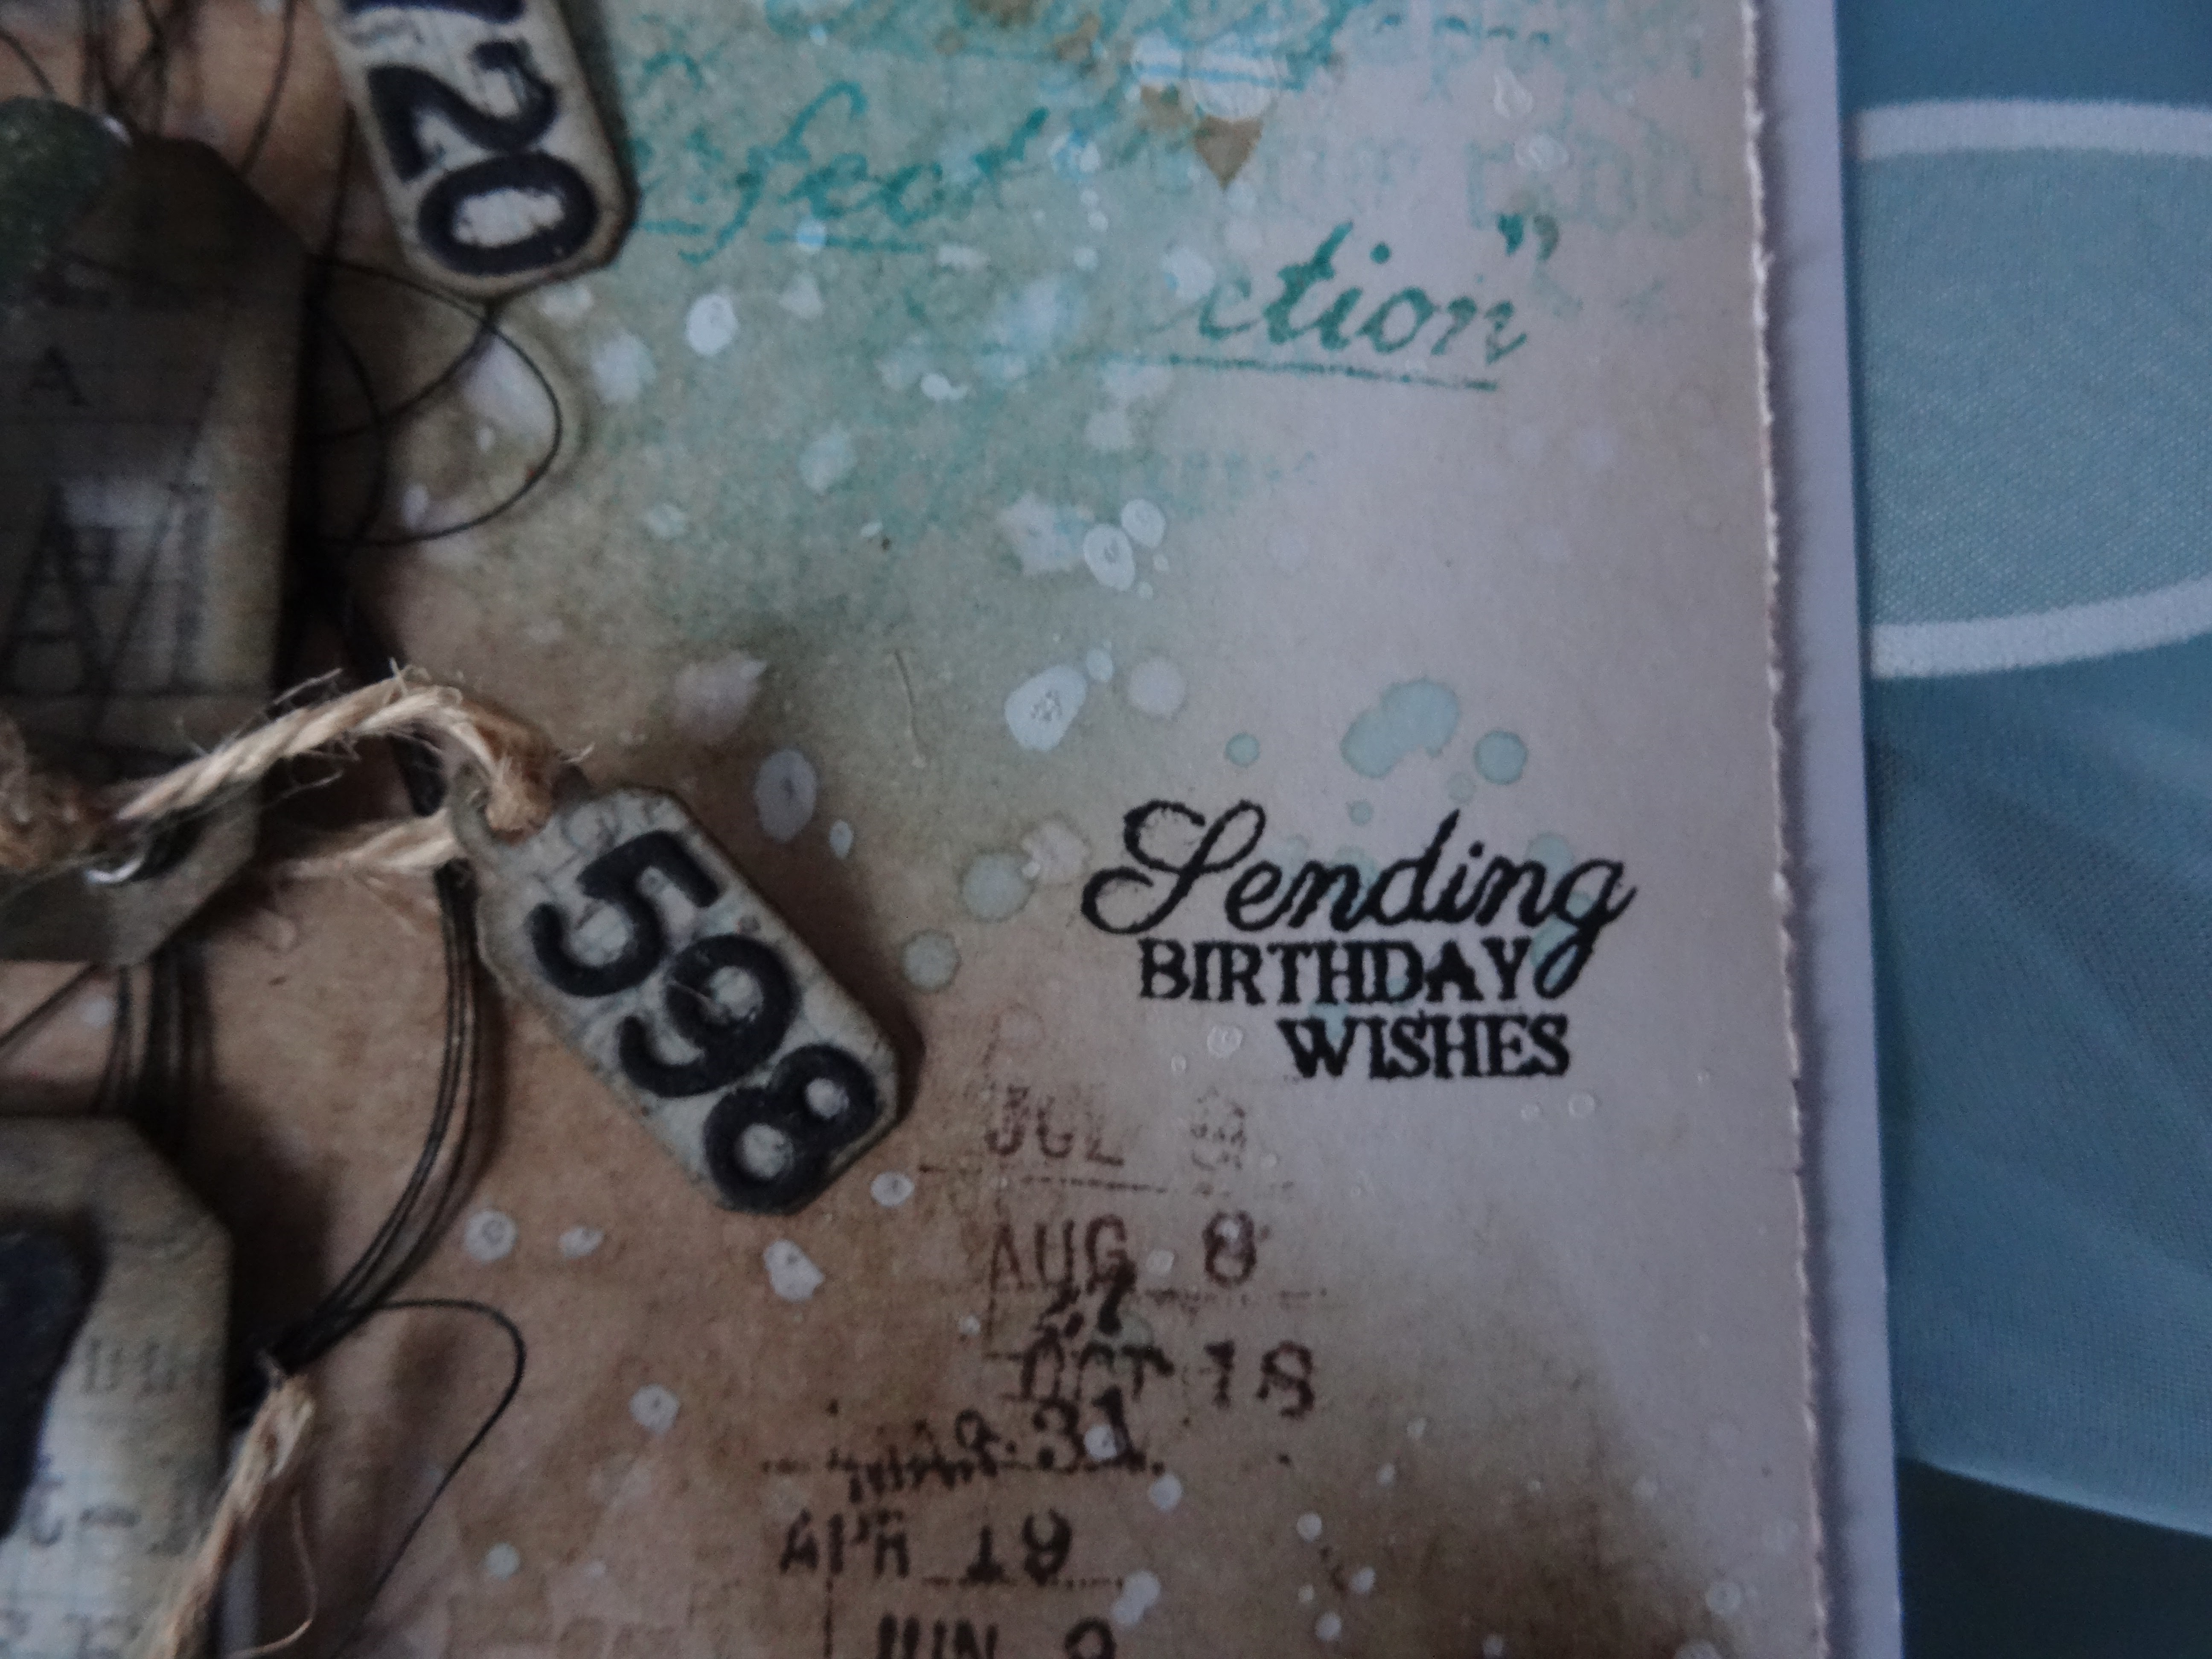
Finally I stamped the little sentiment with black Versafine Ink directly onto the card. I love this stamp, it is so small and pretty!


I attached the topper to a card - and that´s it!


Here are some close ups:


Now I hope you will find some time to make a card for our challenge, you can win a 20 £ voucher for the shop!

Thank you for your visit today and have a sunny March!

Dienstag, 23. August 2022

Sending Birthday Wishes - A Male Birthday Card

 Hello my friends,

today I want to share my second project for the August challenge "Happy Birthday" at Country View Challenges. This time I made a card for a man.


I started by making the background with my new DI uncharted mariner (I love this colour!) and brushed corduroy and a tiny hint of picked raspberry, Then I stamped withthe same colours some texture and distressed the edges.
The focal point is a stamp from LaBlanche. I stamped it with Archival Ink coffee, coloured the face and the hands with DI antique line, cut it out and coloured the edges with brushed corduroy.
I digged in my stash for some ephemera (these are very old Tim Holtz ones), glued a cluster down, added some thread and glued the stamped image with some foam tape.
To embellish the composition, I took some of my premade paper rolls and a cardboard sticker.
Last I stamped the sentiment (Crafters Companion shabby chic) and glued it onto the card.


Here are some close ups:


I hope, you will find time to make something pretty for our challenge, you can win a 20 £ voucher for the shop!

Thank you for your visit!

Montag, 1. August 2022

Summer Birthday Card

 Hello my friends,

you probably may noticed, that I had a little brake. But now I´m back and happy to share my make for the August challenge "Happy Birthday" over at Country View Challenges.

I made a summer birthday card.


And this is, how I made it:
For the background I pushed DI salty ocean, evergreen bough and a tiny amount of picked raspberry directly on my glass mat, spritzed some water and dragged in my paper. I dried it with my heat tool and repeated the process until I was happy with the result. Then I did some stamping with a text stamp from PaperArtsy and with a small background stamp, also PaperArtsy.
For the sentiment I made a rainbow paper with DI mustard seed, spiced marmalade, barn door, picked raspberry, peacock feathers, evergreen bough and mowed lawn. Then I diecut Happy Birthday.
The flowers are dies from Alexandra Renke. I diecut them from Watercolour paper and vellum.
Then I glued everything down, added some crystals and details with a black Pitt artist pen and some colour to the center of the flowers with a crayon.
That´s it!
Here are some more pictures:


Now it´s your turn to make something for a Happy Birthday!

You know, you can win a 20 £ voucher for the shop!

Thank you for your visit today!

Sonntag, 1. Mai 2022

Cats

 Hello and welcome to the May challenge at Country View Challenges!

The theme this month is "Cats & Dogs", hosted by my talented teamy Rachel.

I really like dogs, but my heart belongs to cats. I always had one or more cats in my life from childhood until now and I really love these confident, independent but also clingy creatures.

And of course I made a card with a cat.


For this card I used a elder stamp from LaBlanche - it was a stamp set with cats, a dog and a pony.
This one is so very adorable, I really love, how detailed and lifelike it is!

First I stamped the cat face on my card topper and drew a circle with a pencil around the face. Then I grabbed DI kitsch flamingo, milled lavender and speckled egg and blended the inks with a domed foam applicator. For more interest I used a stencil and went over it with the same colour of the background. Some water drops completed the background.


Next I stamped some paw prints with DI brushed corduroy and darkend the edges of my paper with it too. Then I samped the lovely cat again and coloured it with DI (brushed corduroy again), gave her green eyes and made some highlight with a white gel pen. I cut it out in a circle. Lastly I stamped the sentiment with black Archival ink, matted the focal point and the sentiment onto cardboard for some dimension. Then I glued both onto my card topper, alining with the cat underneath.

The sentiment is in German an it says:

Not all Angels have wings,
some have whiskers.


That´s it for today, I hope you will find time to join in with our challenge this month, as you know, you can win a 20 £ voucher for the shop!

Well, and now I don´t want to introduce you my two beloved furr babies Lucy and Oskar:

This is Lucy - she is a little Diva =)

....and this is her brother Oskar. He is the most adorable cat I ever had! 💗


Thank you for your visit and happy May!

Mittwoch, 1. September 2021

Autumn - Art Journal Page

 Hello and happy September!

Unbelievable - it´s the first of September, where has the summer gone?

As always at the first of a month, it is time for a new challenge over at Country View Challenges. This month the theme is: Leaves begin to fall, hosted by the lovely Jane. She says:  Use leaves as background or the main focal of your project.

 Leaves must be the main feature, no "token" leaf added!!

So I made an art journal page.


This is what I did:

First I sprayed a watercolor paper with various mists in autumnal colors. 

I used Glimmer Mists and Glimmer Mists from Lindy´s Stamp Gang.


My background I prepared with Gesso and then I used a stencil and heavy Gesso to create some texture. When dry, I colored it with grey Ecoline liquid watercolor and added a hint of turquoise blue and light green Ecoline liquid watercolor. For some shine I dabbed some Extreme Sheen metalic paint 24K Gold from DecoArt.
For more interest I did some stamping. I used an old BoBunny stamp called It´s Written with Versa Fine Clair Morning Mist and some subtile stamping with an old border stamp, I guess it´s from Kaiserkraft, with DI speckled egg here and there.

Next I did some die cutting with the beautiful sizzix thinlits called fall foliage by Tim Holtz. I used the colored watercolor paper. I used some squeezed lemonade DO on some of the leaves and distressed the edges with DI walnut stain. Then I glued them all down, some with foam squares for some hight.

...oh, and did you discover the little elves? They were a freebe from Astrid McLean in 2020. They are absolutely lovely. 

Here are some more pictures:


I wrote the word "Herbst" (autumn) into one of the bigger leaves.

Here the first elve.

....and here the second one, hidden between the leaves.


Now it´s your turn to make something beautiful with falling leaves! You can win a 20 £ voucher for the shop!

Thank you for your visit today.

Sonntag, 1. August 2021

Monochromatic - A Fun Card

Hello and welcome to August!

For our new challenge "Monochromatic" over at Country View Challenges I made a fun card, using the palette of many brown tones.

For the background I went over a piece of Bristol paper with Distress Ink Antique Linen, spreat the ink with a foam pad and put a stencil from finnabair called "Mind Games" on top. Then I sprayed some water and let it sit for a while. I dabbed the excess with a cloth and dried everything. 

Now I took the same DI and a make up brush and accented the letters inside of the squares - unfortunately you can´t see too much of it, but it looked very cool!

To tone down the color, I used a brayer with white Gesso and rolled over the background.

The picture from the vocal point is a sticker from finnabair´s "Words you need" sticker set. I matted it on dark brown and beige cardstock, glued some cardboard underneath and glued some threat behind.

The frame I built with lace from my stash, then I glued everything onto the card.

Only some embellishing was left to do: I glued some metallic stickers from my stash around the vocal point and a redish-brown flower and my card was finished!

Here are some close ups:


I hope you like it and feel inspired to make some monochromatic art for our challenge! As you know, you can win a 20 £ voucher for the shop!

Donnerstag, 1. Juli 2021

Card for a Man

 Hello all, nice to have you here!

For the new month we have a new challenge over at Country View Challenges. This time the theme is "Use a stencil or two...".

I love to use stencils very much and I guess I use them in nearly all my artwork.

To add texture with a stencil changes the whole look of a piece and they are so very versatile in their use.

For my first piece I decided to make a card for a man.


This is what I did:
I took a piece of watercolor paper and sprayed it with Tattered Angels Glimmer Mist in a light grey.
I put the stencil Lattice Work form Tim on top of the wet paint, sprayed a little bit more and left it to dry.


When it was dry, I removed the stencil and it looked like this.

The stencil was still wet, so i placed it on another piece of paper. I will use it for a second card.


To get rid of the "frame" I spreat Distress Inks ground espresso and black soot around it with a distressing tool and a sponge.


Time for a second stencil. I used the Numeric stencil from Tim, also one of my favourites, with Distress Oxide mermaid lagoon.


To make the numbers stand out more, I surrounded some of them with a white posca pen.


For some more marks I used the third stencil, again a Tim one, called Stitched Layering, with Distress Oxide crackling campfire. It´s not visible very much, but it adds a subtile texture and a hint of color.


To finish the background, I sprinkled some white paint on top.

I stamped my image and the sign, colored all, layered them and glued them on top of my background. Last I glued everything on top of a card and embellished the card with some flowers and a bow.


Now it´s ypir turn to make something with a stencil! As always you can win a 20£ voucher for the shop.

Thank you for your visit today!