Gesamtzahl der Seitenaufrufe

Freitag, 17. Februar 2023

Art Journal Page with a Heart

Hello all!

Today I want to share with you my second project for the February challenge at Country View Challenges. This month the theme is "Be Sentimental".

This time I made a Art Journal page.


This is what I did:
I chose a page from one of my art journals, which was already prepared with some stamping and parts of old book pages. I went over it with some Gesso and when it was dry, I stamped a heart from a Rubber Dance stamp set with embossing ink and heat embossed them.


Next I used my Marabu acrylic spray paint. I took red, magenta and lime green.


The next step first looked a little bit ugly - but wait, until you see the end result.
I took black Gesso and spreat it on some parts of the page with a brush. I also made some marks with the brush on the edges.


The black Gesso was still wet, so I took a knitting needle to create some doodling. I drew some spirals. The result remids me on a artwork, childs love to make with black crayon. Do you remember these magical pictures?


The Gesso had to dry and meanwhile I picked out a fitting paper for the focal point. I used one from the bunch of Gelli prints I made last year. I sketched a heart and cut it out.


To make it stand out more on the page I surrounded it with a black posca pen and doodled white points. I then used a little heart stamp from another Rubber Dance stamp set and stamped it randomly onto the heart with Magenta Hue Archival ink.


I glued down the heart to the page with thin foam tape, did some more doodling with white posca pen and some more background stamping with black Archival ink and an old script stamp from LaBlanche.
Then I stamped the sentiment (Rubber Dance) with embossing ink direktly to the page and heat embossed it with black nuvo fine detail embossing powder.


Here are some details:


I hope you like my page and feel inspired to make something for the challenge!
As always you can win a 20£ voucher for the shop!

Thank you for your visit today and have a wonderful weekend!


Mittwoch, 1. Februar 2023

Be Sentimental - Birthday Card

Hello and happy February!

This month there is a new theme over at Country View Challenges and it´s called "Be sentimental", hosted by the lovely Jane.

I made a rainbow-coloured birthday card, inspired by @fraupony.


This is what I did:

First I grabbed some of my (millions of...) leftover scraps and coloured them in rainbow order with Distress Inks. I also tried out Oxides, but I liked the more vibrant look of the Inks.

Next I took a flower die - I have it for a long time, don´t know, which brand it is - and diecut a bunch of flowers from all colours


Look, how beautiful they are!


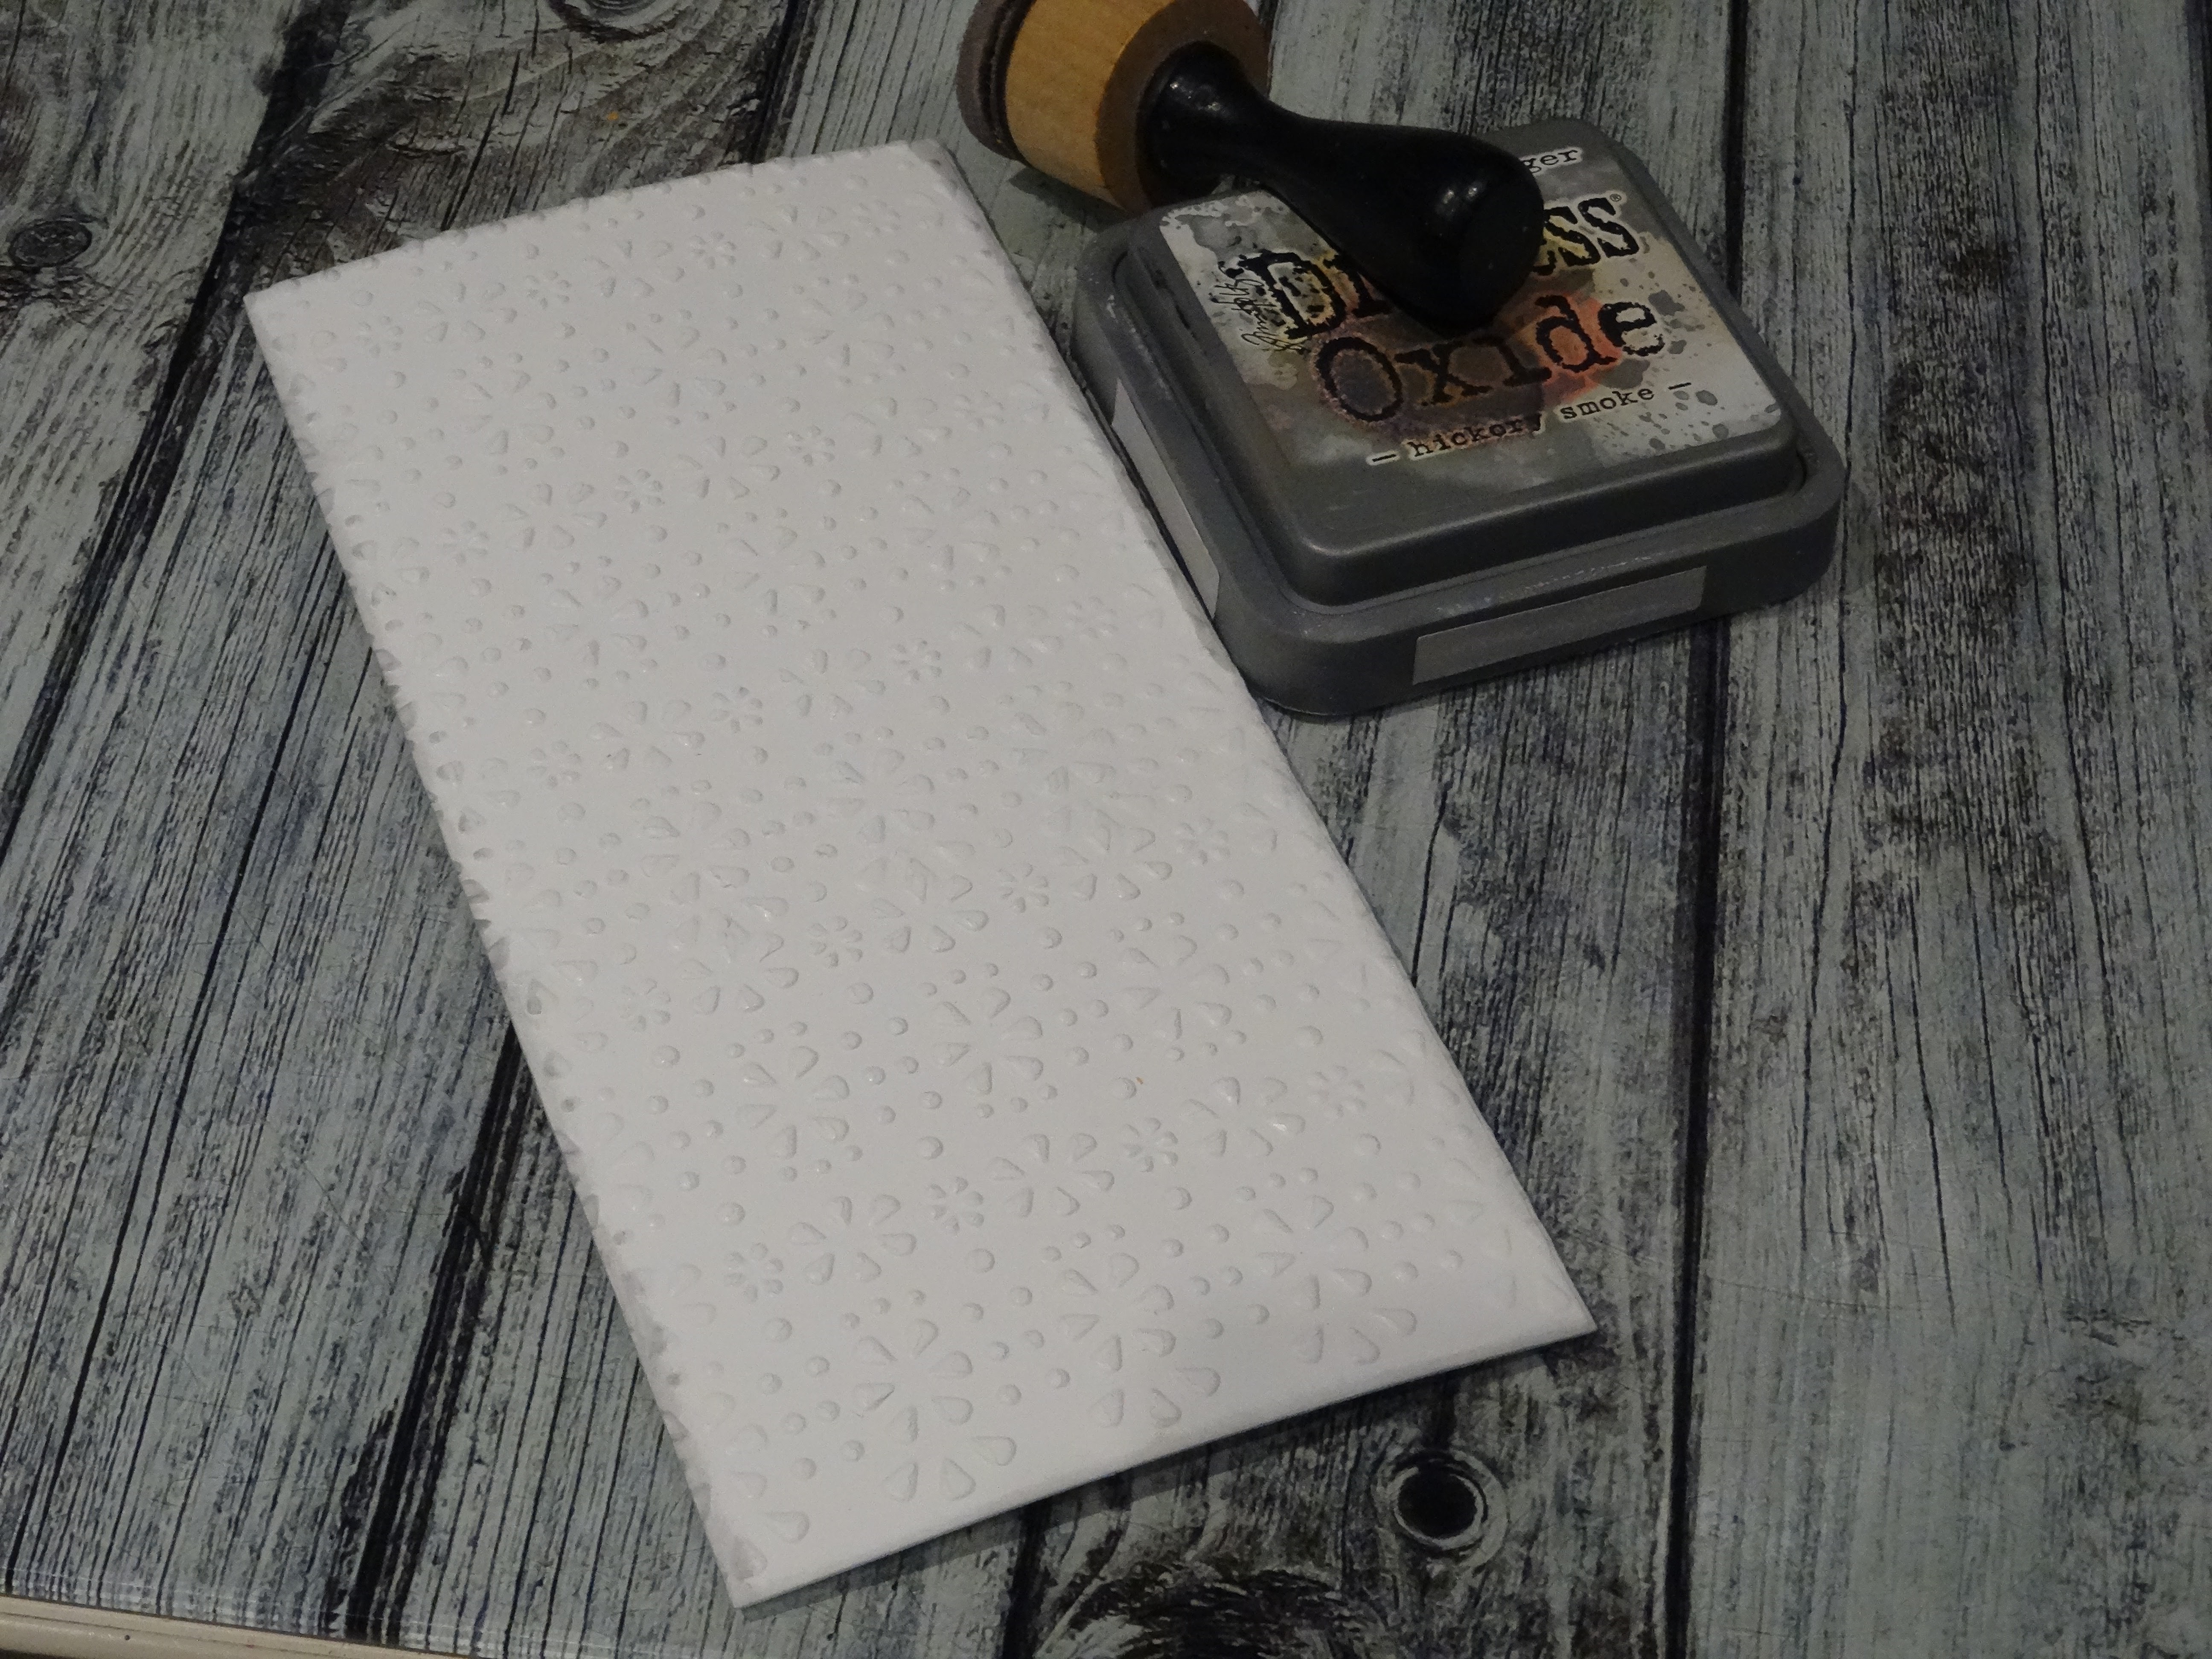
I cut a cardbase and a topper from white cardstock and embossed the topper with a folder from sizzix. It´s also very old, I don´t know if it is retired.


The edges I distressed with Distress Oxide hickory smoke.


I added some splatters in some of the colours I used to ink my papers for the flowers.


Now it was time to arrange the flowers on my card. I glued the topper to my card, using some foam tape, then I layered the flowers in a flow and glued them down.


I found some gemstones in rainbow colours and glued some of them on my card.


Last I added the sentiment "Happy Birthday" that I diecut with a cheap die from a Dollar store.


I had much fun making this card!

Now it´s your turn to get sentimental! Please read the rules before you enter the challenge.
As always you can win a 20£ voucher to spend in the shop!

I wish you a happy February and thank you for your visit!

Sonntag, 8. Januar 2023

Notepad Holder with Pocket Watch

 Hello again, I hope the new year has started good so far!

For my second project for the January challenge at Country View Challenges I decided to make a little notepad holder - and of course there is a clock, in this case it is a pocket watch.


For this year my resolution is to use more of my older stuff, which is sitting in my cupboards for a long time. So for this little notebook holder I used some older cardstock and a lot of ephemera.

First I measured the cardboard - I used some leftover packaging - slightly bigger than my notepad. I binded two of them with black bookbinding linen to a little book. Then I covered it with some cardstock from my stash, I haven´t used for years. The inside I covered with fitting monochrome cardstock.

To decorate the front, I first used a stencil with Pentart Deluxe paste and let it dry. Then I took some very old ephemera (from Tim Holtz and BoBunny) and arranged the focal point. I surrounded some of the pieces with brown brushmarker, added some random stamping with a Seth Apter mini stamp from PaperArtsy Eclectica. I stamped it with VersaFine Clair Pinecone ink.
To frame the page I distressed the edges with DI ground espresso, I also did this at the back.

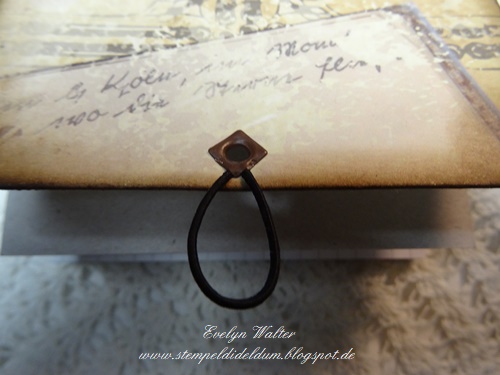
To keep the notepad holder closed, I secured a elastic band with a eyelet on the back and sew a cardboard button (BoBunny) to the front. 

To hold the notepad in place, I attached a rubber band with a stapler to the back.
Here are some more pictures:


I hope you like my little notepad holder!

Now I want to see some projects for the "Time" challenge from you!

Like last year you can win a 20£ voucher for the shop! But please don´t forget to read the rules!

Thank you for your visit today and have a great week!

Sonntag, 1. Januar 2023

Time Flies!

 Happy New Year all!

I can´t believe it - another year has gone bye so fast - time really flies!

So for the first challenge at Country View Challenges the theme, that this time I have chosen, is  "time - clocks and clockfaces". 

I made a art journal page.


I wanted to make a process video and filmed this time with my mobile, but I had much trouble with the upload - sorry, no video. If I will get it to run, I will upload it later. So I am very sorry!

So I will discribe you, what I did.
I primed my page with Gesso and after drying I started with stamping a lot of clockfaces to my page. I used stamps from visible image and LaBlanche with VersaFine Onyx Black ink.
Next I used some acrylic paint from DecoArt (Americana Cherry Red, Khaki Tan, Asphaltum). To tone all down a little bit I used some white Gesso. Now I took a stencil from 13Arts and stenciled the triangles with the Americana Asphaltum paint.


Now it was time for the diecut letters. I used a die set from Alexandra Renke (Alphabet Vic) from white cardstock and glued two of them together for more dimension. Then I painted them with again Americana acrylic paint (Cherry Red and Asphaltum) and glued them to the page. The word "flies" I stamped with VersaFine Clair Pinecone with the stamp set Alphabetical from Visible Image and distressed the edges with DI vintage photo. I also distressed the edges of the page and the clockfaces from LaBlanche, I glued down to the page, too.


Last I added some dots with a pearl pen in red and clear and did some spritzing with black and white paint.

Now I hope, you will have a happy and healthy new year and I hope, you have fun with the first challenge!

Thank you for your visit today, I will be back with my second project at the 3rd, so stay tuned!


Sonntag, 11. Dezember 2022

Merry Christmas!

Hello and welcome to my blog!

Today I want to share with you my second project for the Christmas Challenge at Country View Challenges. I made a sparkley card with the beloved Holiday Greens dies from Tim Holtz.


I cut white cardstock to size and matted it with some super sparkly glitter cardstock. Next I dipped DI festive berries on my glass mat, spritzed some water on top and used a fan brush to create some splatters.

I stamped the Merry Christmas with festive berries DI and heat embossed it with clear embossing powder. Then I cut it out and colored the edges.

The Holiday Greens I diecut from glitter cardstock in two different gold tones.

I put three diecut greenery together, glued it on the card and added a little red bow. Then I put the card together and - that´s it!

Here are some close ups:

Now I hope you will find some time to share your christmas makes with us.

You can wind a 20 £ voucher for the shop as always.

Thank you for your visit today and have a wonderful christmas time!

Donnerstag, 1. Dezember 2022

First Christmas Card 2022

Hello and happy December!

Unbelievable - last month of the year already! Where has time gone bye?

For the December challenge at Country View Challenges I made a card in traditional red colour.

I used a kraft cardstock for the cardbase and the topper.

I diecut the trees with tree dies from Charlie & Paulchen from glittercardstock and mirror cardstock. I cut out some trees from the cardtopper as well as the German "Merry Christmas" and matted it on a patterned cardstock in a matching red colour. The diecut trees I arranged in a row, some glued down directly, some rised with foam squares.

The edges of the topper I distressed with DI vintage photo. Then I glued the topper down to the cardbase.

Here are some more photos:


Now I hope, you will share your christmas makes with us!
You can win a 20 £ voucher for the shop!

Have a wonderful December!