Gesamtzahl der Seitenaufrufe

Samstag, 1. April 2023

Change is Beautiful!

 Hello and welcome to April!

As always on the first of a month, there is a new challenge over at Country View Challenges, this time the theme is "Things with Wings", hosted by the lovely Rachel.

I made a card with a beautiful butterfly.


I cut a piece of white watercolour paper to size and smeared 4 different colours acrylic paint with my fingers on it´s top. When paint was still wet, I used a stencil from finnabair and a dump baby wipe to wipe off some paint to create texture. For even more texture, I took another stencil from finnabair and black paint and stenciled some words here and there.

When dry, I used white acrylic paint to push down the colour at the part, I wanted to stamp the butterfly. I dried it again and then I stamped the butterfly with versafine Fine detail ink. I stamped it 3 times for a crisp image. I also stamped the sentiment on a leftover piece of paper.  After this I made some dots with a big white Posca pen and some smaller black ones to break the pattern. I glued the panel to the card.


Next I coloured the butterfly with my Polycromos. I used the colours from the background, just a little more intens. Then I glued down the sentiment with foam tape and last I made some 3D dots with a glitter perl pen.


Here are some more pictures:


That´s it for today!
Now it´s your turn to make something with "Things with Wings", I am curious, what you will make!

Have a wonderful April and see you at Easter sunday with my second make.
Thank you for your visit today.
xxx


Samstag, 25. März 2023

Best Wishes!

Hello and welcome to my blog!

Today I want to share with you a quick and easy birthday card for a man. It´s my second project for the March challenge at Country View Challenges "Birthday card for a man"


For the background of my card I used a elder paper pad from Tim Holtz. I simply distressed the edges with DI ground espresso, used one of my all time favourite stencil from TCW called Mini Harlequin. I spreat pentart Deluxe paste lagoon blue and truffles randomly through it. After the paste was dry, I made some white splatters with acrylic paint and glued the panel on top of a card.

The focal point is Sir Vagabond I fuzzy cut from the 8 x8 paper pad. I gave him a coat of glaze for more interest and glued him with 3D foam pads to the background. I also glued down two circles from the same paper pad.

I took a flower diecut from LaBlanche and put it in Sir Vagabonds hand, then I stamped the birthday wishes on leftover cardstock, cut it to size and went with black ink around the edges. Then I found a place on my card and used foam tape to glue them down too.

Here is Sir Vagabond:


There are some days left to make a male birthday card for the challenge, you know, you can win a 20 £ voucher for the shop!

Thank you for your visit today and have a happy weekend!

Mittwoch, 1. März 2023

Sending Birthday Wishes!

Hello and happy March!

I can´t believe it - it´s March already, where did February go?

For the March challenge over at Country View Challenges the lovely Corrie is the host and she wants to see birthday cards for a man.

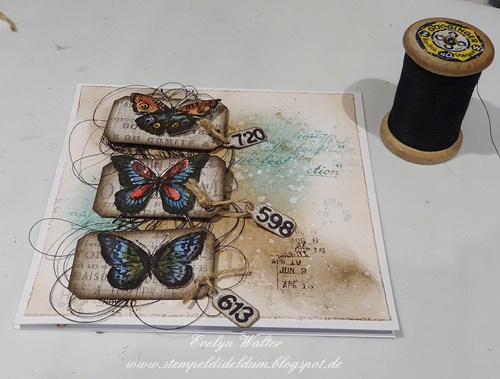
I made a little bit grungy card with a lot of new stamps and dies!


I started by colouring my background with Distress inks (walnut stain and salvage patina) with a brush, added some water drops and spritzed with a brush watered down walnut stain. Later I added some background stamping with my also new visible image stamps "Distressed Christmas" and "Background Vision" with the same Distress Inks.

I used my new purchased dies from Tim Holtz and cut out tiny tags and labels. I used some older papers from Tim Holtz.

For my focal point I used - well, also new - the butterflies from the stamp set "Watercolor CMS217" and coloured them with inktense colours and activated them with a waterbrush.

The labels were distressed with ground espresso DI and I added some eyelets. On top of the tiny tags I glued down some numbers I diecut and attached them to the labels with a string.

Underneath the labels I arranged some black thread, put some 3D tape down and glued the butterflies on top.

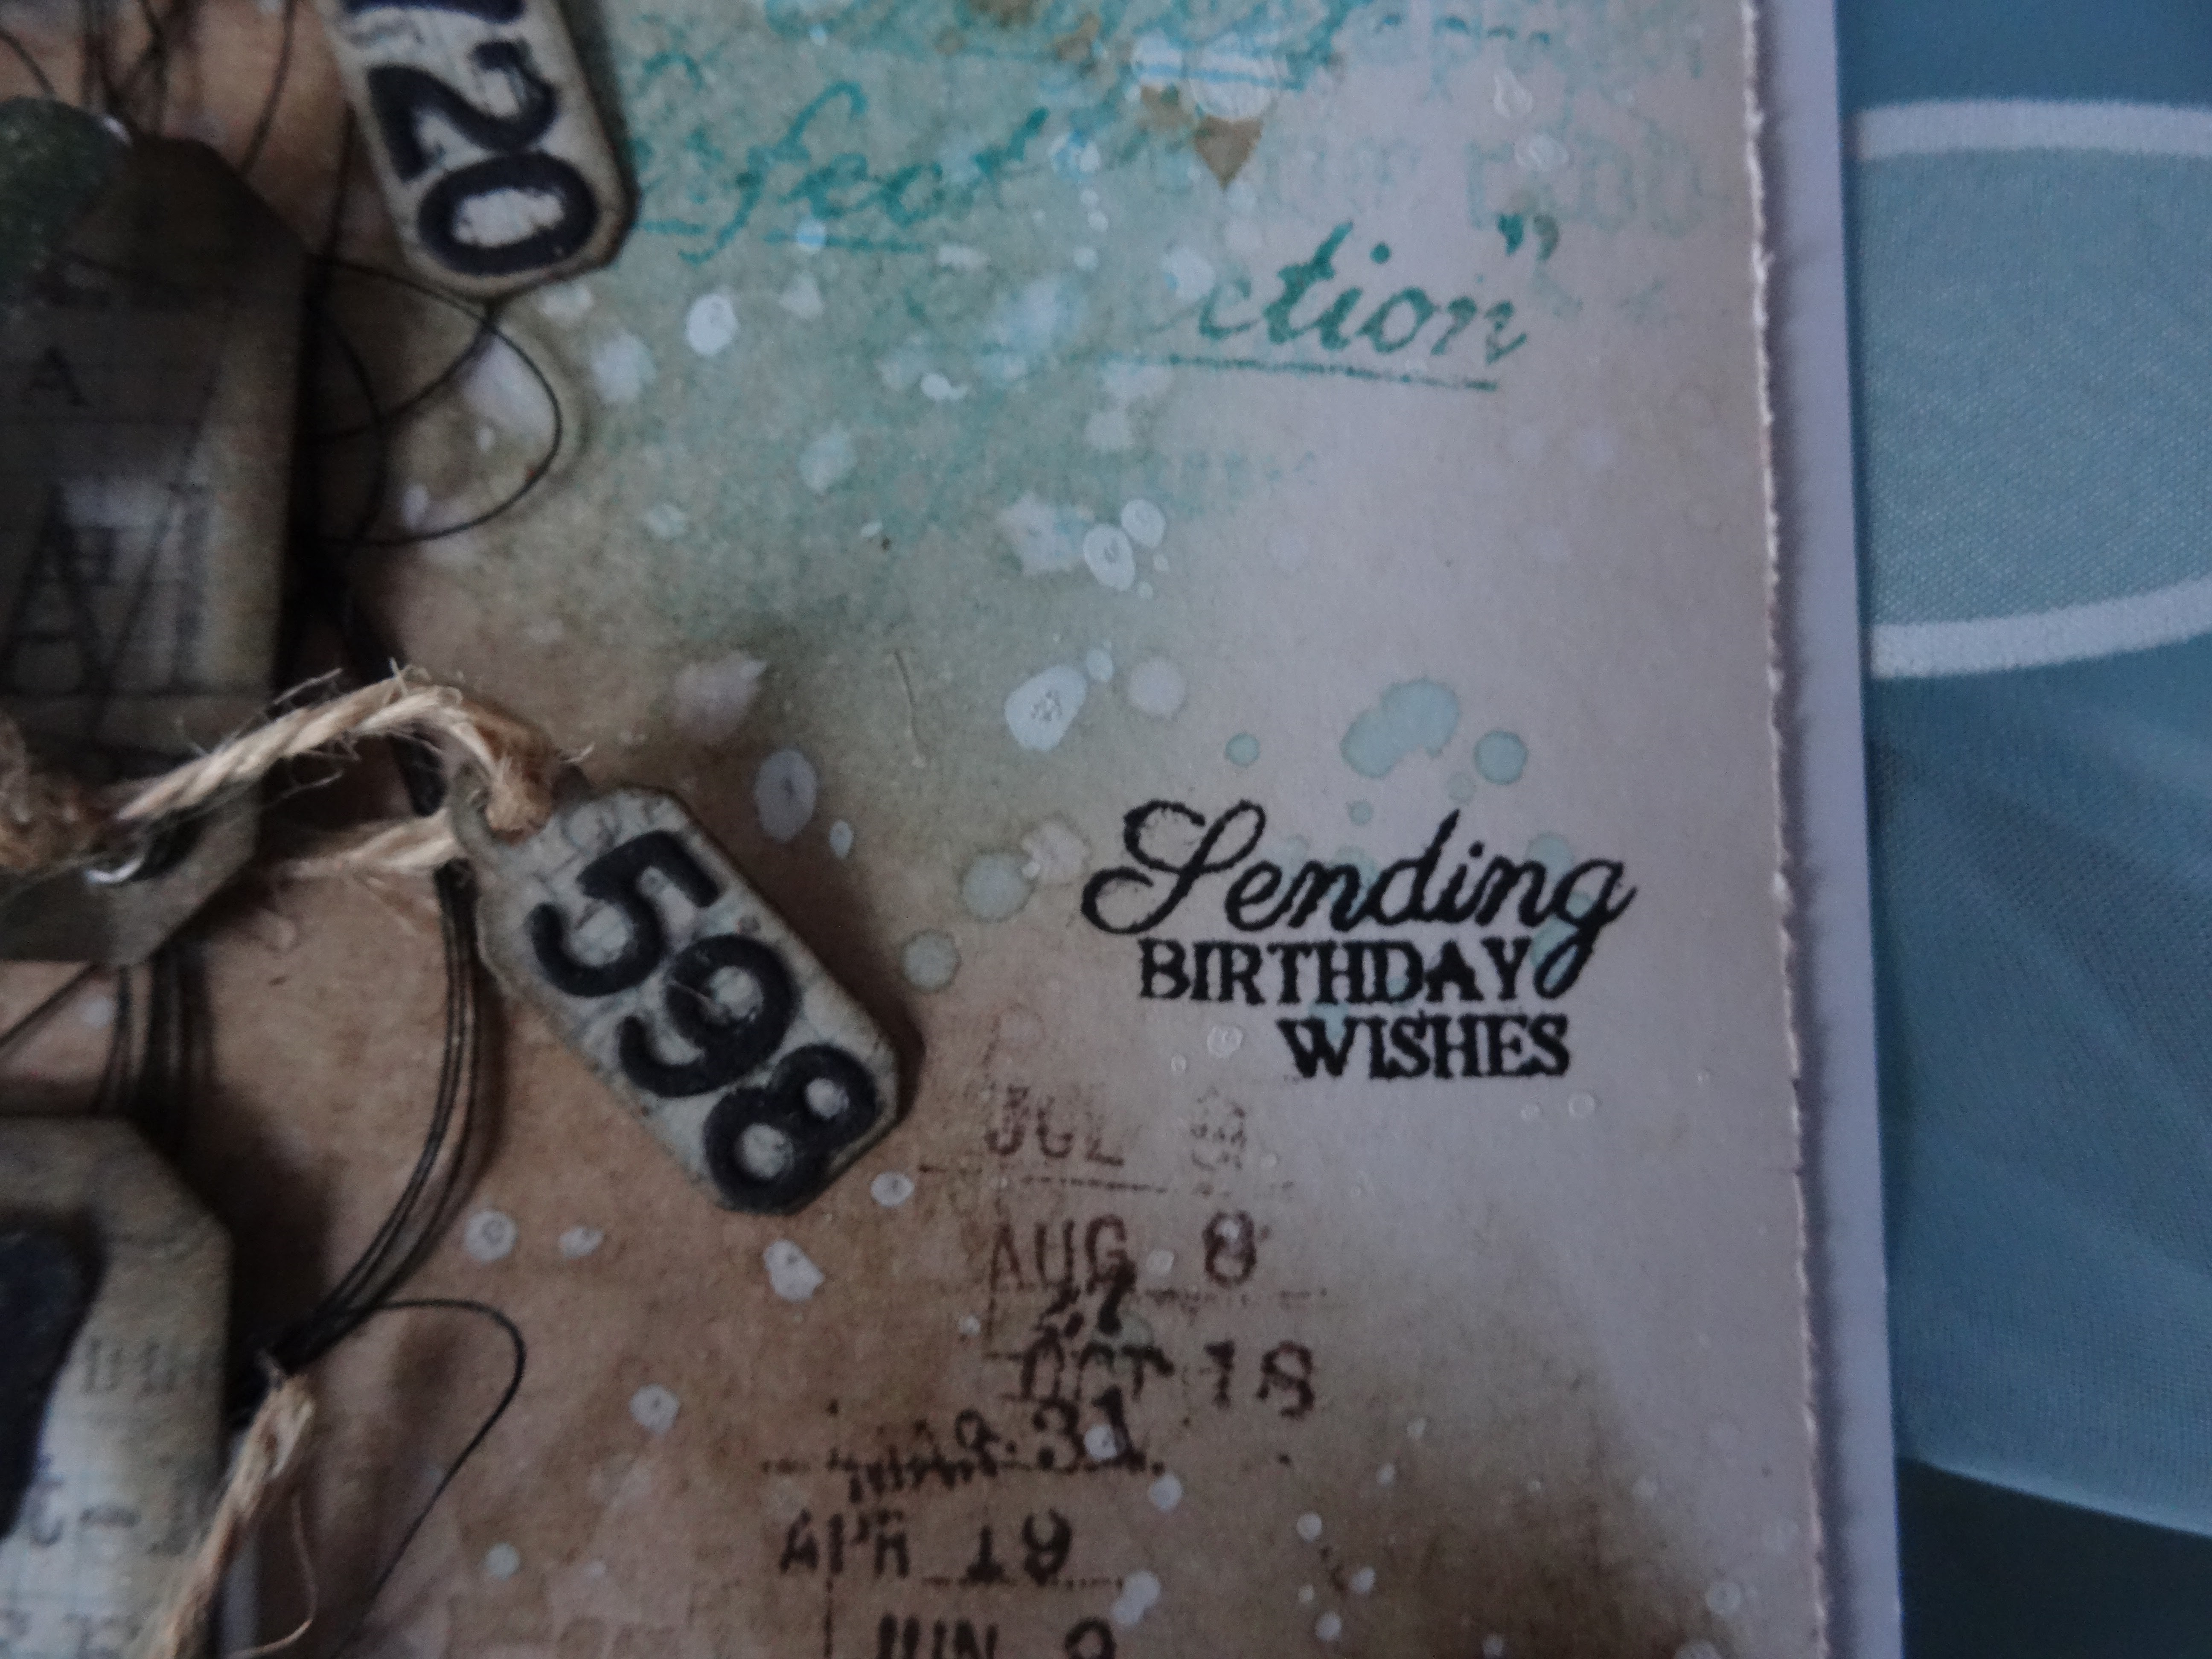
Finally I stamped the little sentiment with black Versafine Ink directly onto the card. I love this stamp, it is so small and pretty!


I attached the topper to a card - and that´s it!


Here are some close ups:


Now I hope you will find some time to make a card for our challenge, you can win a 20 £ voucher for the shop!

Thank you for your visit today and have a sunny March!

Freitag, 17. Februar 2023

Art Journal Page with a Heart

Hello all!

Today I want to share with you my second project for the February challenge at Country View Challenges. This month the theme is "Be Sentimental".

This time I made a Art Journal page.


This is what I did:
I chose a page from one of my art journals, which was already prepared with some stamping and parts of old book pages. I went over it with some Gesso and when it was dry, I stamped a heart from a Rubber Dance stamp set with embossing ink and heat embossed them.


Next I used my Marabu acrylic spray paint. I took red, magenta and lime green.


The next step first looked a little bit ugly - but wait, until you see the end result.
I took black Gesso and spreat it on some parts of the page with a brush. I also made some marks with the brush on the edges.


The black Gesso was still wet, so I took a knitting needle to create some doodling. I drew some spirals. The result remids me on a artwork, childs love to make with black crayon. Do you remember these magical pictures?


The Gesso had to dry and meanwhile I picked out a fitting paper for the focal point. I used one from the bunch of Gelli prints I made last year. I sketched a heart and cut it out.


To make it stand out more on the page I surrounded it with a black posca pen and doodled white points. I then used a little heart stamp from another Rubber Dance stamp set and stamped it randomly onto the heart with Magenta Hue Archival ink.


I glued down the heart to the page with thin foam tape, did some more doodling with white posca pen and some more background stamping with black Archival ink and an old script stamp from LaBlanche.
Then I stamped the sentiment (Rubber Dance) with embossing ink direktly to the page and heat embossed it with black nuvo fine detail embossing powder.


Here are some details:


I hope you like my page and feel inspired to make something for the challenge!
As always you can win a 20£ voucher for the shop!

Thank you for your visit today and have a wonderful weekend!


Mittwoch, 1. Februar 2023

Be Sentimental - Birthday Card

Hello and happy February!

This month there is a new theme over at Country View Challenges and it´s called "Be sentimental", hosted by the lovely Jane.

I made a rainbow-coloured birthday card, inspired by @fraupony.


This is what I did:

First I grabbed some of my (millions of...) leftover scraps and coloured them in rainbow order with Distress Inks. I also tried out Oxides, but I liked the more vibrant look of the Inks.

Next I took a flower die - I have it for a long time, don´t know, which brand it is - and diecut a bunch of flowers from all colours


Look, how beautiful they are!


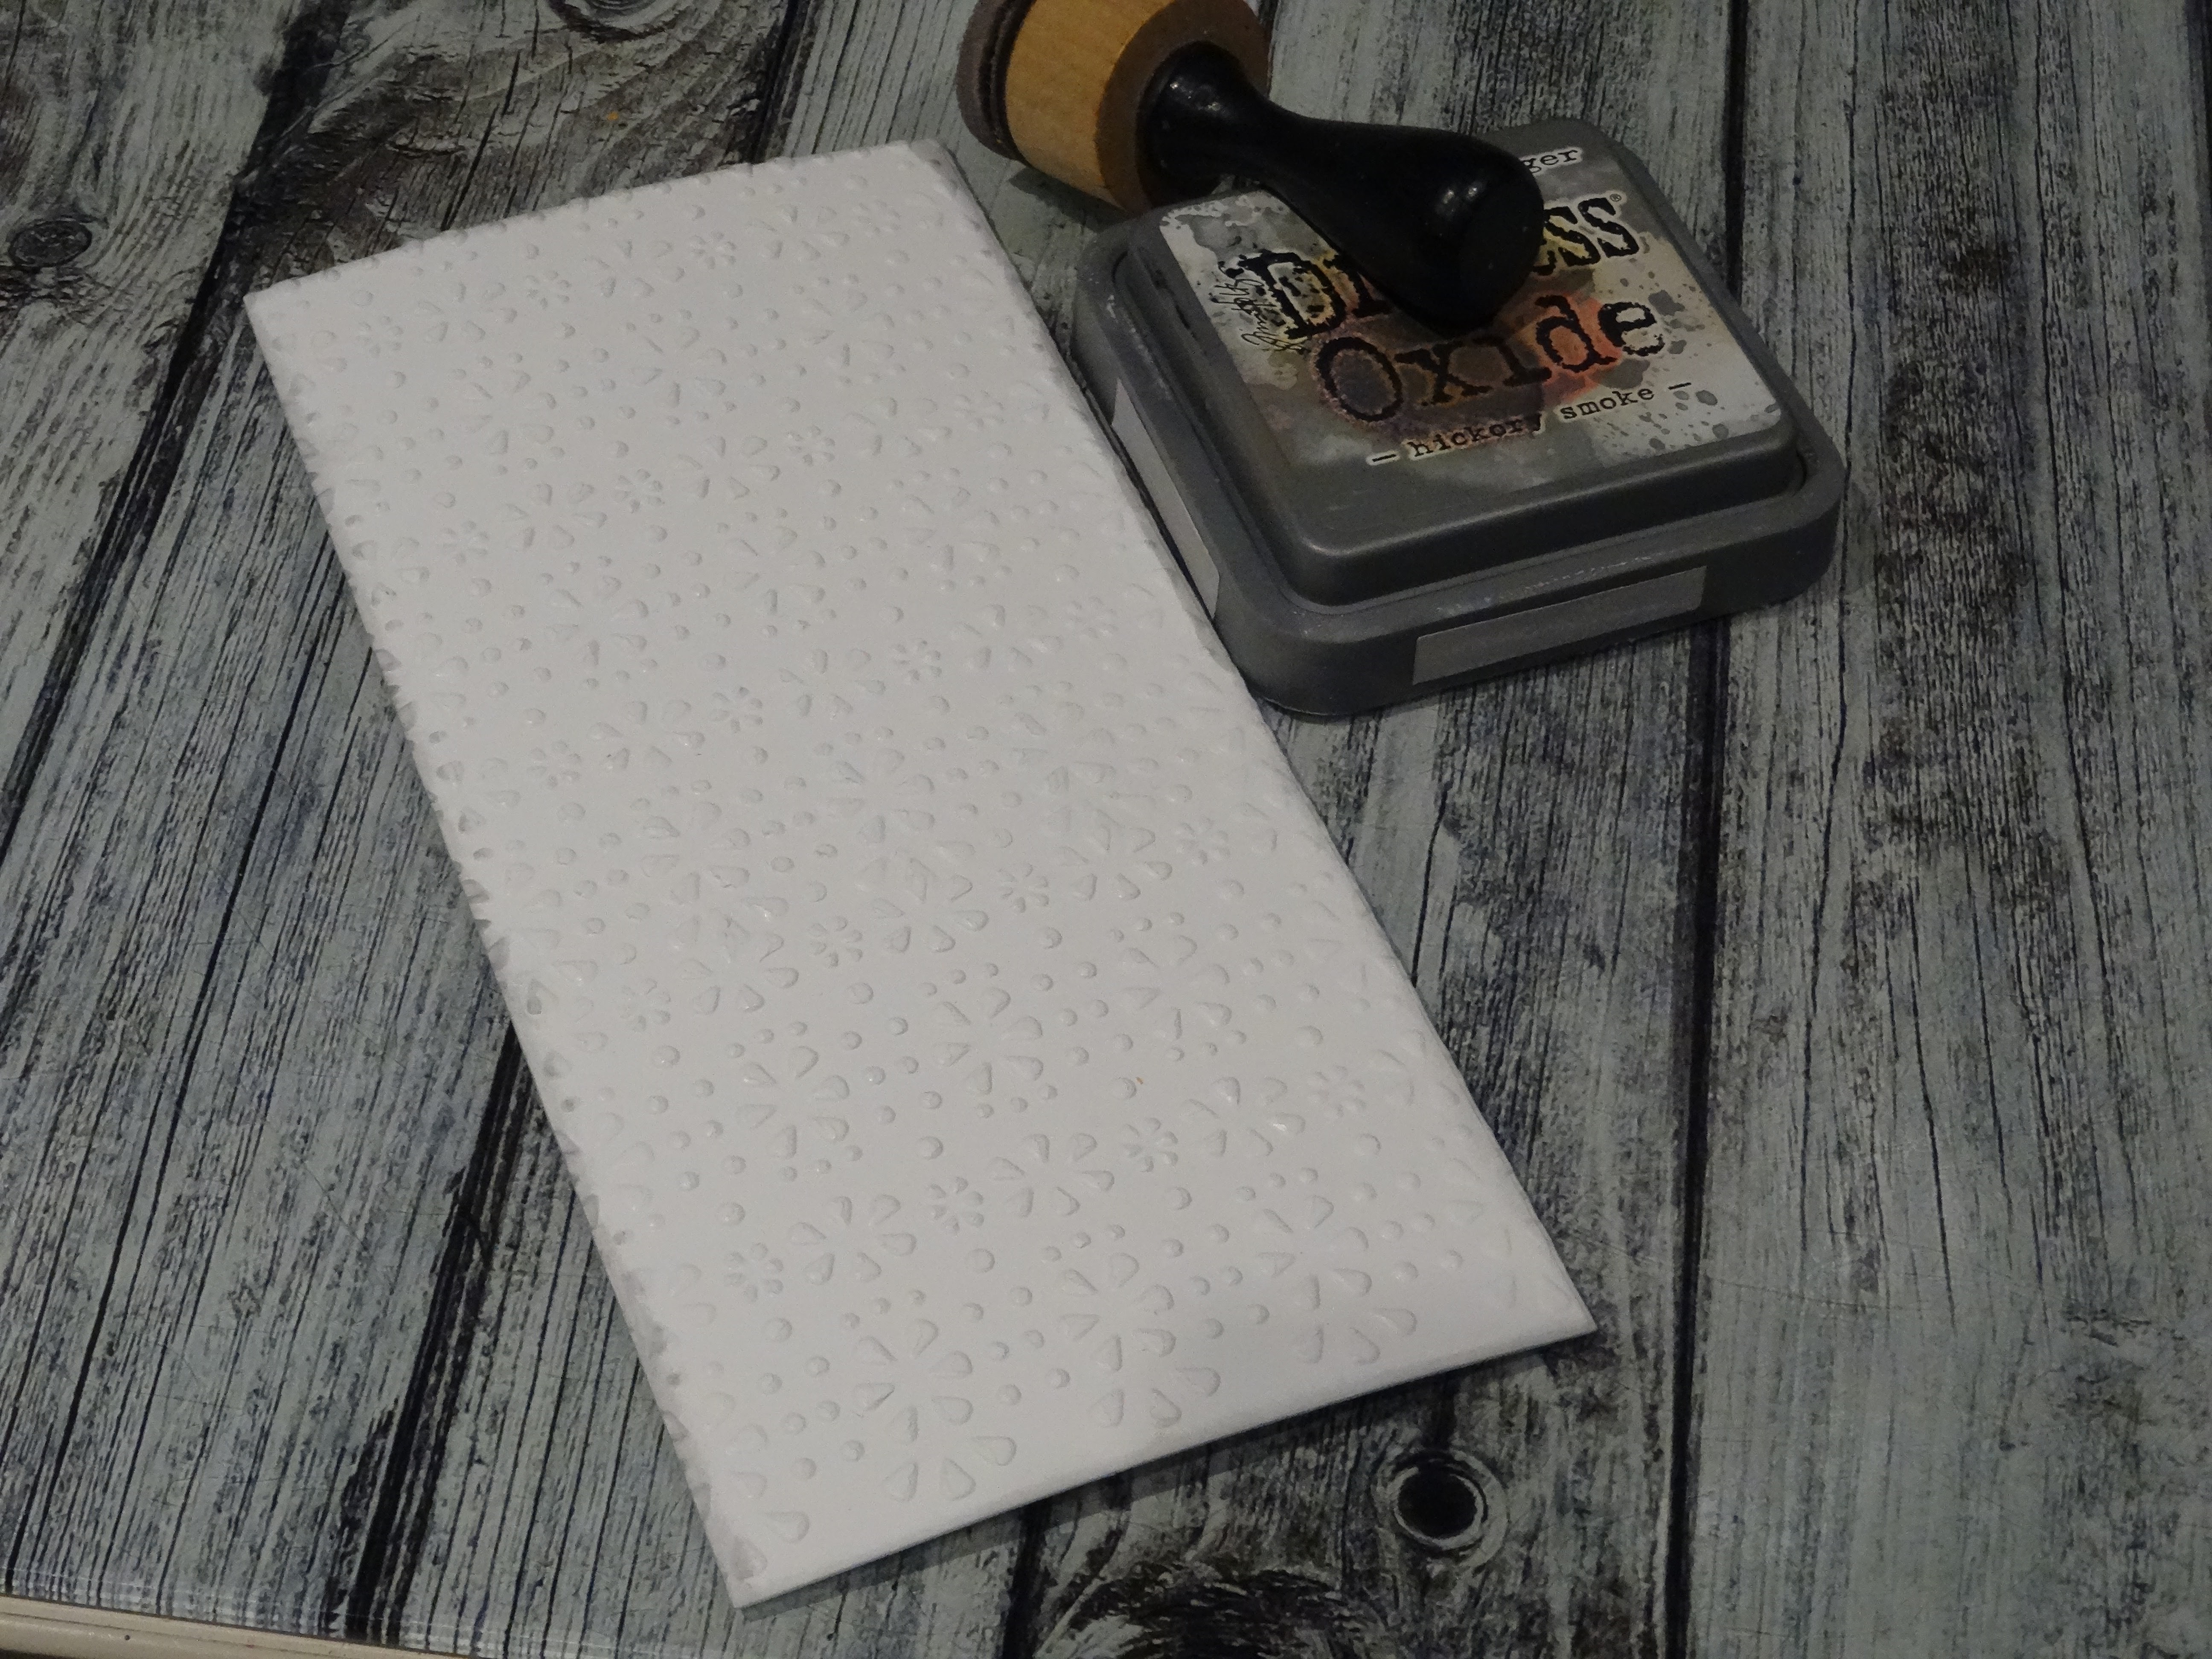
I cut a cardbase and a topper from white cardstock and embossed the topper with a folder from sizzix. It´s also very old, I don´t know if it is retired.


The edges I distressed with Distress Oxide hickory smoke.


I added some splatters in some of the colours I used to ink my papers for the flowers.


Now it was time to arrange the flowers on my card. I glued the topper to my card, using some foam tape, then I layered the flowers in a flow and glued them down.


I found some gemstones in rainbow colours and glued some of them on my card.


Last I added the sentiment "Happy Birthday" that I diecut with a cheap die from a Dollar store.


I had much fun making this card!

Now it´s your turn to get sentimental! Please read the rules before you enter the challenge.
As always you can win a 20£ voucher to spend in the shop!

I wish you a happy February and thank you for your visit!